Following these few steps will help ensure your print project designed using Canva will print exactly how you intend.
Check the page size
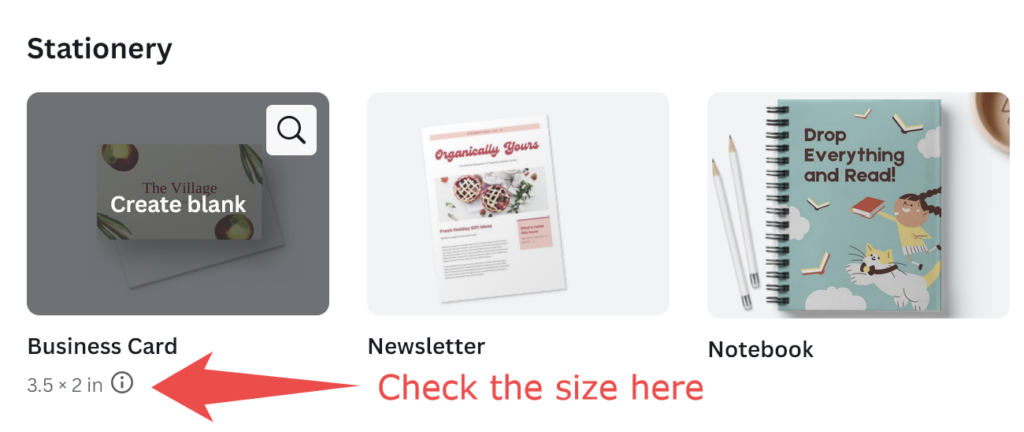
Canvas is an international website based in Australia, meaning not all of its templates are designed for U.S. paper sizes. While selecting the template or blank page you want to use for your design, be sure to check the page size. Hover your mouse over the template to see the size below.
Make it bleed
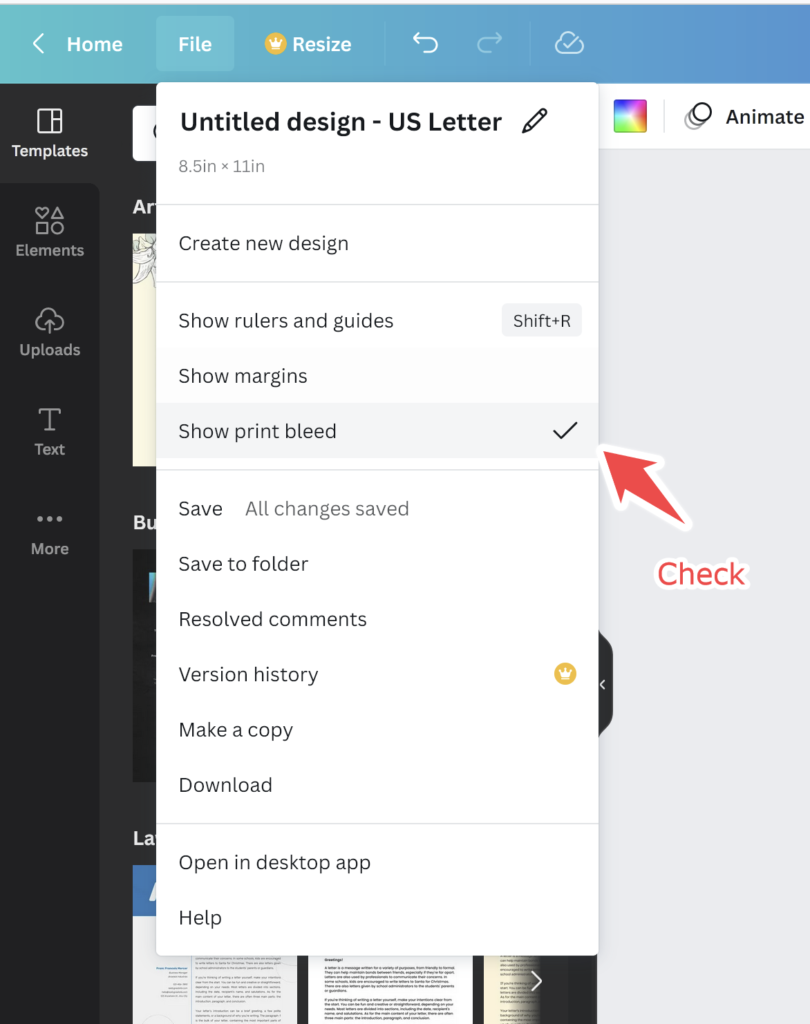
Bleed is when any print touches the edge of the final piece. It always looks better than a white border but requires additional setup to achieve. Once you have selected your template and are on the design screen, click on File>”Show Print Bleed” to ensure it is checked.
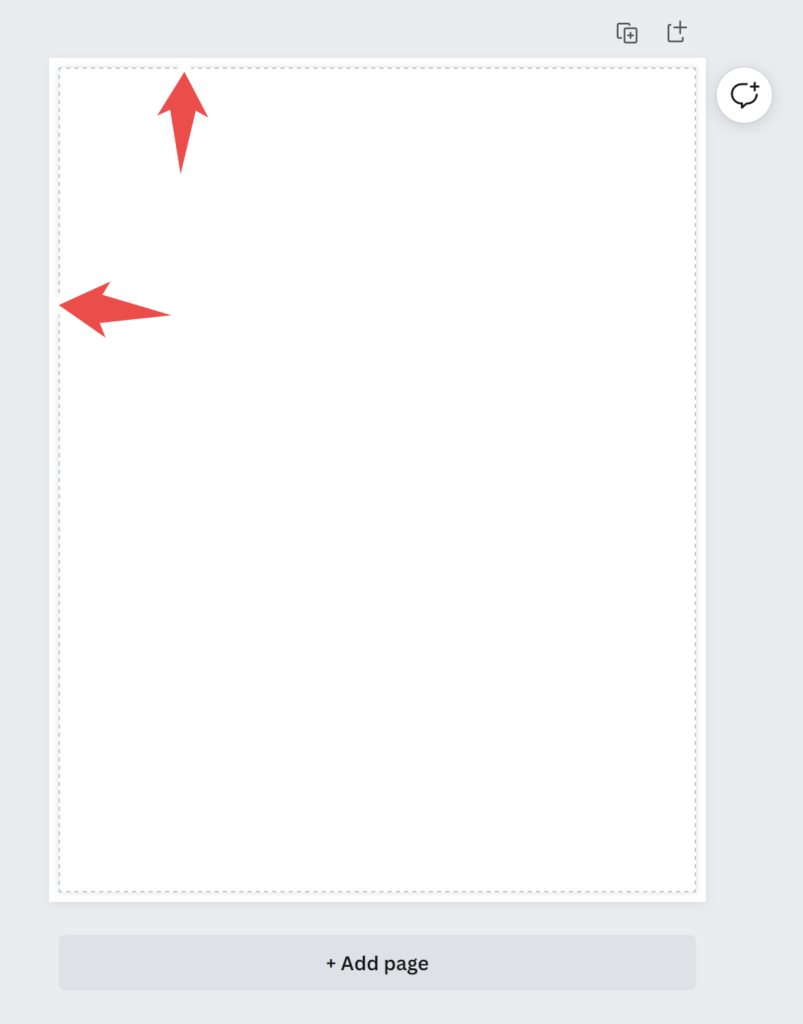
You should see a small margin appear outside the final piece. The dotted line is the final piece after trimming and the outer area is your bleed margin.
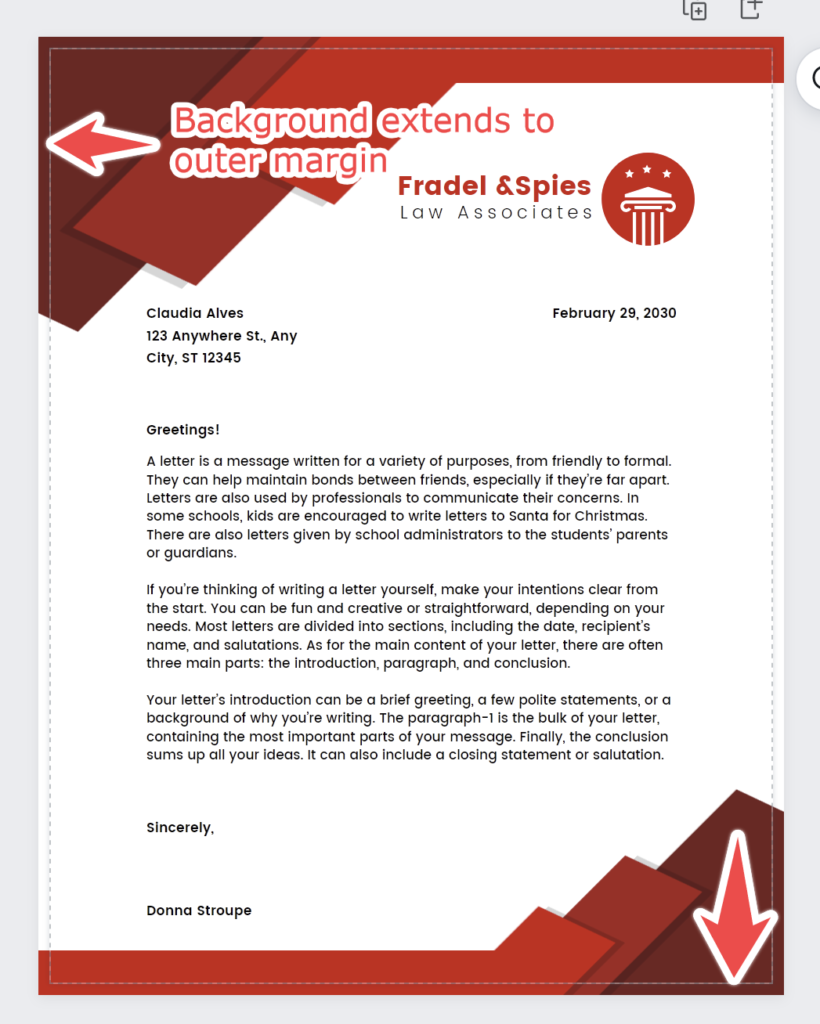
As explained here, make sure all of your design elements that bleed extend beyond the dotted line to the outer edge. This example shows how that should appear.
Download it correctly
When downloading your design, change the file type to “PDF Print” and click the box “Crop Marks and Bleed.” This ensures a properly setup file that should look exactly how you intend.
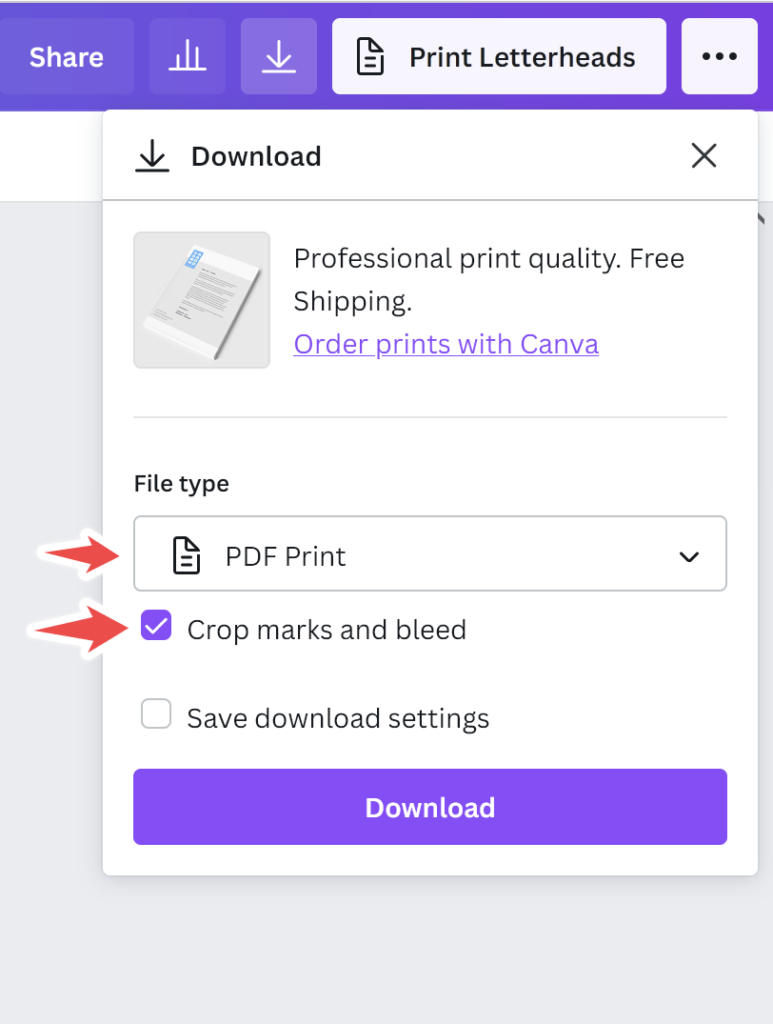
The file should be a PDF that’s larger than the intended size with crop marks in the corners. Make sure all elements intended to touch the edge extend beyond the crop marks. If in doubt, request an electronic proof when you place your order.
